Welcome Pamela
Gardenize’s Guest blogger from New Zealand
We have Gardenizers all around the world and we are happy to share experiences and learnings from our new friend Pamela, who lives in Alexandra, New Zealand.
Upside-down gardening:
how we grow things at the bottom of the world
Hi, pleased to meet you
My name’s Pamela and a few years ago, at the age of 55, I made the decision to start a new adventure. I left the north-west of England, where I had lived all my life, and moved to New Zealand. I’ll tell you more about why I did that in a future article. I’m excited to be a guest blogger on Gardenize, and I’m looking forward to writing about my garden in beautiful, sunny Alexandra in Central Otago.
My garden here is about as different as it could get from the damp, shady garden I left behind. Central Otago is the hottest, driest, coldest area in New Zealand, as we have hot summers and cold winters, along with a semi-arid climate. The area is famous for its orchards and vineyards. It has many quaint little rural townships with pretty cottage gardens featuring the peonies, bearded irises, hollyhocks, lilies, roses and lavender that grow so well here.
The landscape is spectacular, with dry, rocky mountains and impossibly blue lakes and rivers. The dry mountains look barren, but they’re actually covered in tough little thyme plants: a great clue to what might grow well in the garden.

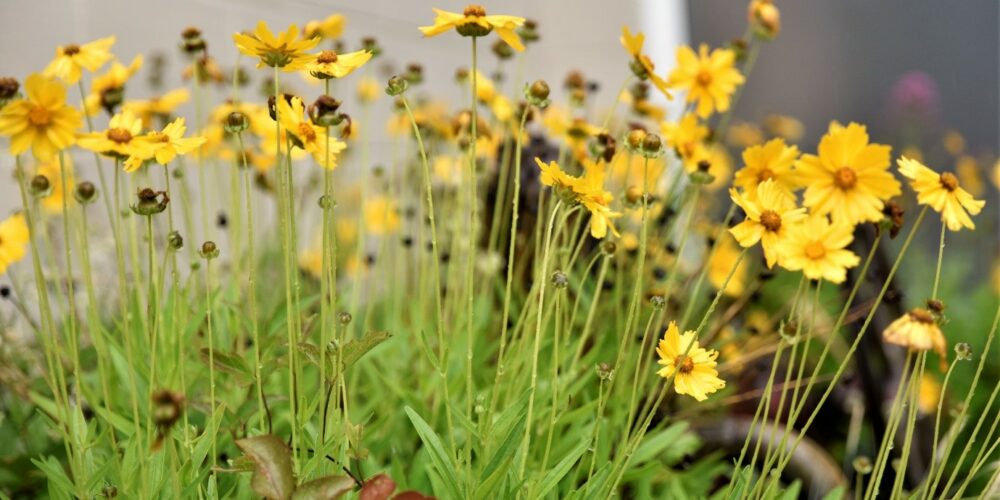
Romantic lilies
I am incredibly fortunate to live next door to a keen gardener and we don’t have any kind of boundary between our properties. She loves trees, shade and plants that would really prefer to live in a bog: quite a challenge! She is also a talented artist; check out her website here: https://brownridgeart.com.
Last year, in early spring when most plants were dormant, we decided that the area between our houses would benefit from a path, which would make it easier to visit each other and give structure to the garden’s design. Nearby were bronze tiger lilies and some subtly blushed regal lilies that bloom just in time for Christmas. Digging for the path meant that the lilies were disturbed: a great opportunity to spread them out a bit more. I dug them up carefully (you need to dig deep to avoid severing the bulbs with your spade). Some were so deep that I couldn’t find them and now they pop up in unexpected places, like the middle of our newly created, rustic path. They had formed clumps of bulbs, which fell apart naturally, and I replanted these as deeply as I could.
The move rejuvenated them, and I hope I will be able to lift and divide them again in a couple of years’ time. Other than preventing them becoming overcrowded, they don’t need any special care. So long as they receive some irrigation, they grow and thrive.

Soothing lawns
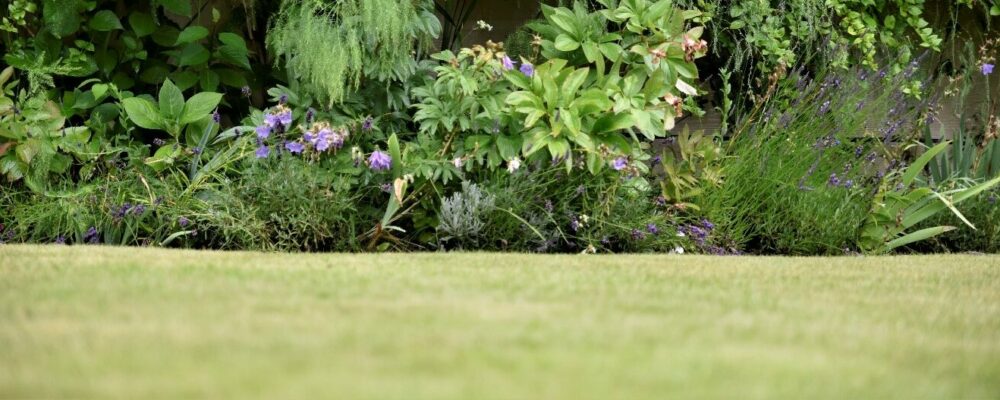
There are disadvantages to lawns: they take a lot of water and a lot of time and energy, but their calming uniform green makes a wonderful contrast to a colourful flower border. My partner takes only a marginal interest in gardening, but he astonished me this spring by enthusiastically tackling the rejuvenation of our lawn. He applied weed and feed to the lawn to attack clover and other weeds and, once it had done its work, he hired a scarifier (sometimes known as a dethatcher). Thatch (dead grass, bits blown in by the wind and other detritus) builds up around the little grass plants that make up the lawn. It doesn’t rot down fast enough to feed the soil. Instead, it blocks out light, air and water that the grass needs. We took an astonishingly huge amount of thatch from our not particularly large lawn. This thatch we fed to our worm farms and it made excellent bedding for them. After its dethatching, the lawn looked alarmingly thin, verging on bald in places, but the individual grass plants looked healthy.
The next weekend, I mowed it to make it a more uniform height and to encourage it to thicken up. Off went my partner to his workshop and made an aerator. It is like a fork, but the tines are narrow tubes. When it is pushed into the soil, it takes out neat plugs and leaves pipe-shaped holes. This helps to get air into the soil, so that the grass roots stay healthy. With the lawn nicely aerated, the next job was to mix lawn seed with some old potting compost and spread it over the lawn, brushing it into the holes and between the newly scarified grass plants.
Next, we turned to irrigation. We replaced our cheap and nasty trickle hoses with an amazing device that can be pushed into a suitable place in the ground and attached to the hose. It has spray nozzles all around its head, which can be adjusted so that water reaches every corner of the lawn. It turned out to be so effective that we were able to dispense with another line of irrigation that used to water the border down the side of the lawn.
Healthy, fertile soil
I inherited a garden with a mixed past. It had obviously had a carer who loved to visit the garden centre, because it is well-stocked with a variety of plants, but the soil was thin, compacted and lacking in humus. It appeared lifeless, with very few earthworms and other beneficial creatures. Instead, there were lots of grass grubs (a sign that it had not had enough water) and the occasional vine weevil. I knew that if I wanted a healthy, thriving garden, I would first have to build up the health of the soil and then maintain it. We’re still at the building up stage.
The soil here is full of minerals and drains very easily, due to the schist rock underneath. The schist contains tiny particles of mica, so when you get dirty, you end up with a slightly sparkly finish, like one of the vampires in the Twilight series. Because it is so dry here, every effort needs to go into providing adequate irrigation and mulching to retain moisture.
The local fruit and vegetables have a strong flavour, and I think that is from a combination of the mineral-rich soil and the strong sun.

Mulch
Of course, caring for the soil is also a matter of caring for the living organisms in the soil. The best way to do this is to add organic matter: compost, manure and any kind of mulch you can lay your hands on. Organic matter rots down to become humus, which conserves water in a well-drained soil, but improves drainage in a clay soil. It also feeds the good bacteria and earthworms.
I grow tomatoes around a compost bin, into which I put a sack of either sheep or horse poo, plus any green waste from the garden (except pernicious weeds like clover, vetch and grass). I also irrigate the compost bin through a hole in its lid. This way, the manure rots down without the possibility of burning the plants, and the tomatoes are fed and watered from below, which encourages the development of deep roots and makes them more resilient for when we get a run of hot, dry days.
I put any prunings through a shredder and throw them on the soil throughout the year. I was lucky this year to obtain a large quantity of chopped wood (the result of some stump-grinding nearby). This mulch prevents loss of water through evaporation, blocks out weed growth and slowly rots down to feed the soil.

Pine needles
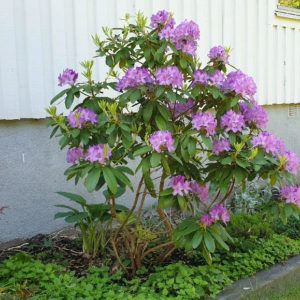
Another great addition for acid-loving plants like rhododendrons and blueberries is pine needles, which we can gather from the pine plantation that keeps the dust out of the town.
Wood ash
We put wood ash from the woodburner on the soil in winter, making sure we don’t use wood that has been treated. This is a great source of potassium, which is great for any plants that flower and fruit, but it is wise to add it in light sprinkles only, as it is alkaline and too much may upset the natural ph of the soil. Keep it away from acid-lovers like rhododendrons and blueberries.
Sawdust
I live with a keen amateur woodworker, so I have a constant supply of sawdust. It works as a light mulch and naturally works its way into the soil, which softens it. I dump piles of it on deep-rooted weeds, like couch grass and clover, because it makes them much easier to pull out.
Worm farms
We have two worm farms made from wheelie bins obtained from our local recycling centre. All you need is a hole to drain off the worm “tea” and a receptacle to catch it. The “tea” is an excellent fertiliser. The worms are a special type called tiger worms (we got ours from our local recycling centre). We feed the worms on vegetable peelings, tealeaves and coffee grounds.
The worms appreciate a good supply of bedding at the top of the bin. This can be newspaper, cardboard, autumn leaves or any similar “brown”, or carbon-rich material. We pull it apart and drop our kitchen waste underneath. In return, the worms produce wormcast, which makes a fantastic soil conditioner. When the SCOBY in my kombucha gets too big, I put that in the worm farm too, hoping that this helps to colonise the soil with beneficial bacteria and yeasts.

Gardenize Plus 3.90* EUR/month
With Gardenize Plus you can:
- Use Gardenize on your laptop or desktop computer
- Download your data for free
- Create copies of your own plants
- Save as many plants / areas / events as you want
- Save as many images per plant / area / event as you want
- Draw on pictures Save as many inspirational posts as you want
Find more information about the Gardenize offers here.
* Price valid when you subscribe via Gardenize web-service

More from Gardenize
Images published on the Gardenize website belong to Gardenize AB and may not be used without permission.


